Showing posts with label foodie. Show all posts

April 13, 2012


Quiche (or Egg Pie)


by Resident Chef James Wood

Hi everyone, I hope you had a great week. The weather in Seattle has been pleasant and sunny...until today.

Let's get cooking! There are so many types of pies in the world. Sweet, savory, creamy and fruity to name a few. So many in fact that not to many people look for the egg pie.

The French call this a quiche, but over in my house we just call it a egg pie. They are quick and easy to prep and you can put about almost anything into them. Today I will walk us through a egg pie made with leftovers from last night and some mashed potato cakes to go on the side.

Grocery List: For the quiche

2 x standard store bought pie shells with about a 4 cup capacity
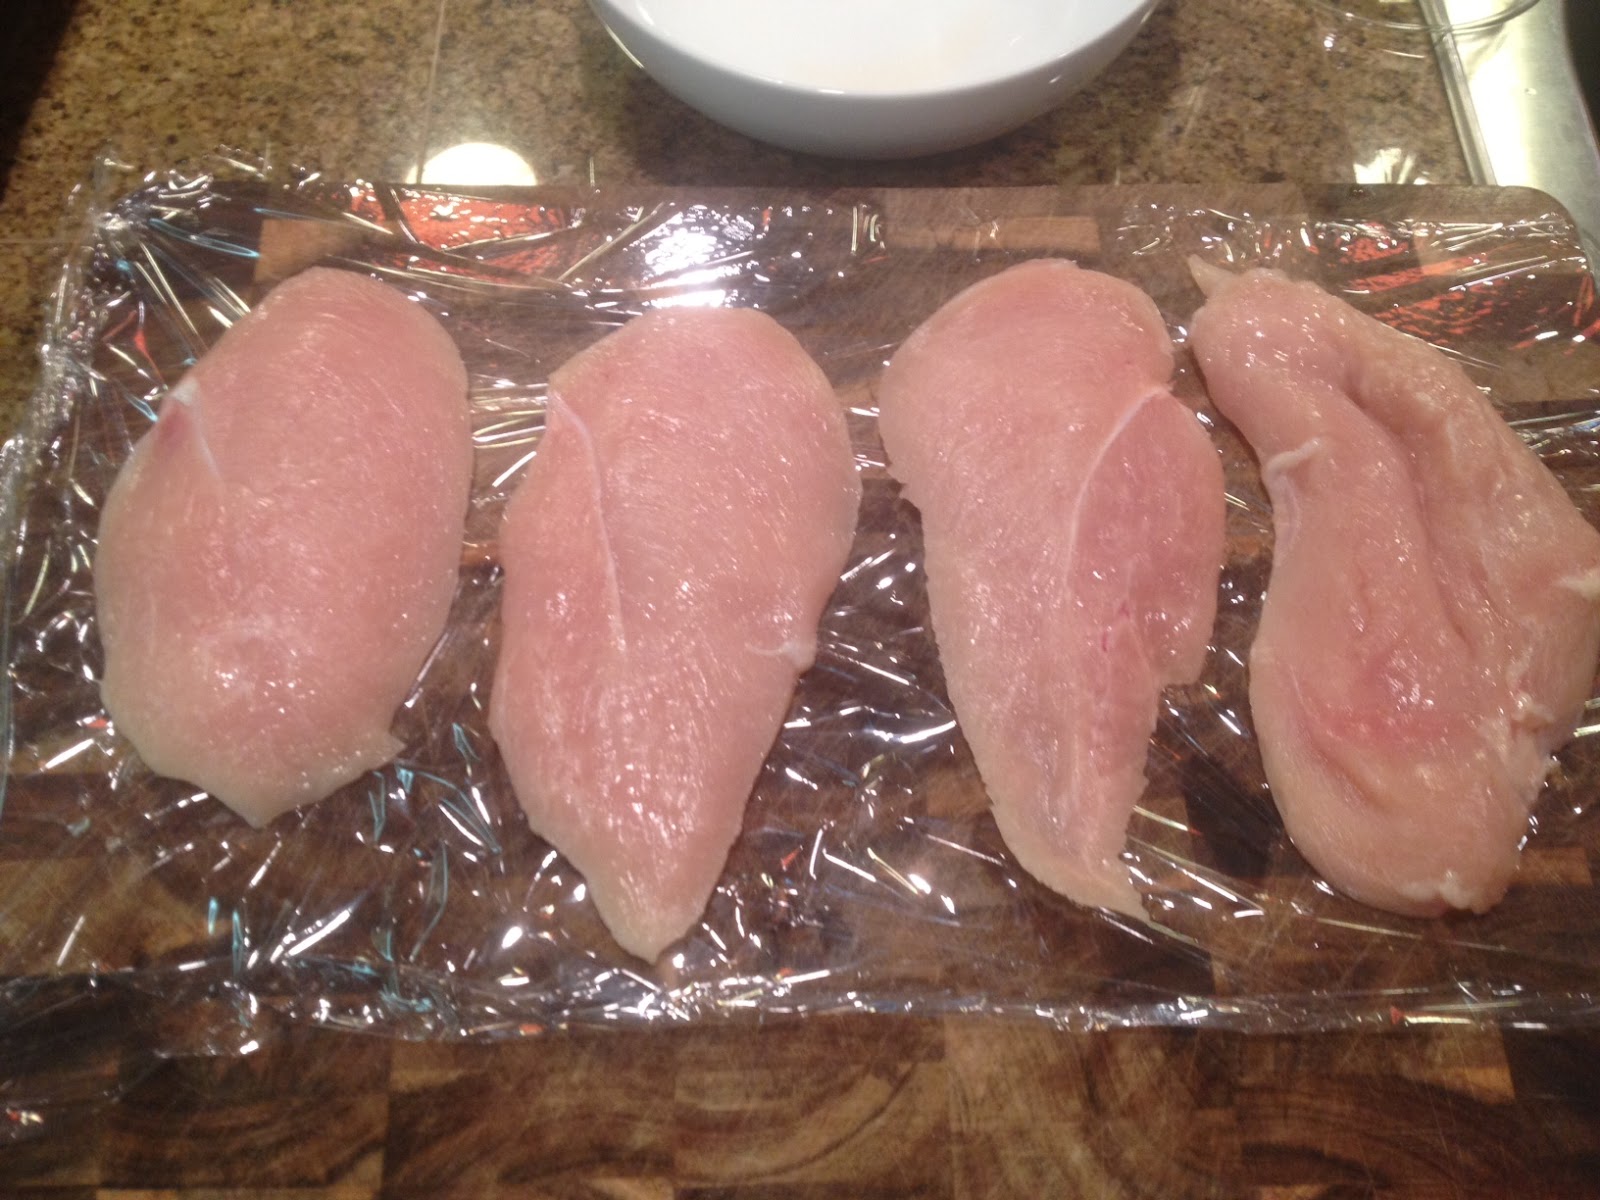
8 eggs 1 cup of diced protein of your choice(I am using Italian sausage left over from the subs I had last night)
1 cup left over broccoli florets. You can use fresh if your fancy!
1 diced tomato
1 cup of washed baby spinach
1 cup sliced mushrooms
1/2 cup milk
2 tablespoons of flour

This recipe can be easily cut in half. Let your kids help out and have them do the math! But since pie shells come in pairs I made 2.

For the potato cakes 1 1/2 cups last nights mashed potatoes (these ones were spiked with some of that pesto)
1 cup of Panko bread crumbs(1/2 for the mix 1/2 for coating 1 egg

Step 1

Heat oven to 400F and place pie crusts in oven for 7-9 minutes. 


Step 2
While the crust is cooking, gather and prep your ingredients.


Step 3


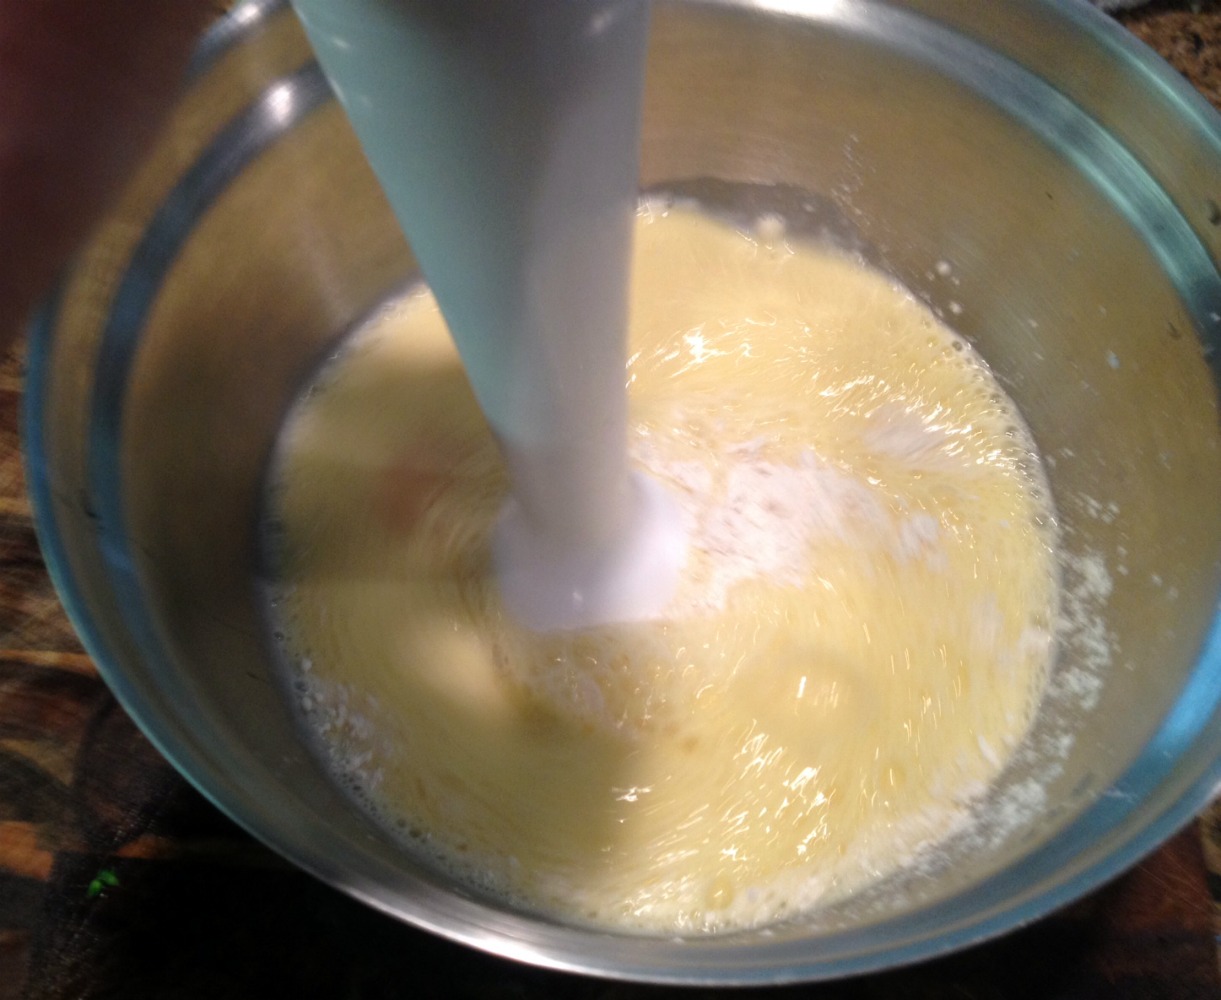
Create your egg mix by combining 8 eggs, 1/2 cup of milk and 2 tablespoons of 
flour and beat until smooth. 


Step 4

Evenly Layer your ingredients into the pre baked pie crust and and pour the egg mixture on top. 


Step 5

 
Lower the oven to 350F and toss these puppies in.  Bake for 25-35 minutes or 
until there is no more jiggling or noticeable liquid. 


Now for the mashed potato cakes while the quiche are cooking.

Step 1

I had about 1 1/2 cups of mashed potatoes left over from Easter that I combined 
with 1/2 cup of Panko an a egg. 


Fold together until incorporated


Step 2

Make a small ball with a bit of the mixture in the palm of your hand.

Then roll it in the Panko that you reserved.
 
Then form it into a short cylindrical cake and place on a buttered or sprayed cast iron skillet or non stick pan 


Cook until golden brown flip over and repeat.

Place on a cookie sheet and finish in a 350F oven for 5-7 minutes.


Once everything has come out of the oven, cut the pies into 6 pieces each and serve.  

Although I only had enough potatoes to serve 4, there is enough quiche for 12. Haha leftovers into leftovers! Anyway have an awesome weekend!

James Wood.  James can be reached at  cookinwood@gmail.com

March 30, 2012

Foodie Friday - Tool Box

FOODIE FRIDAY!

My Tool Box


by Resident Chef James Wood
Happy Friday everyone!
Have you ever gone to a kitchen style store in the mall and been overwhelmed with the (am I going to really use these) gadgets? I have broken down the most common and useful tools that most professional chefs use on a normal everyday basis besides their brains!
Here is what you will definitely find in my tool box/bag and kitchen to make my tasks easier and more efficient.


You might say, "that looks like a lot of stuff, James!" But I say, "you probably already have a lot of stuff in your drawers, just not the right stuff."

Knives and a steel


Sharp knives make your tasks easier and less hazardous than dull knives.
1. A chefs knife that has a good weight and feel to YOU.
2. A serrated knife or "bread knife"
3. Small utility knife
4. A paring knife pictured is a 3" paring knife and a "birds beak" or "tornee" style paring knife
5. A steel to keep the edges on your knives true and honed
Bench Scraper and Japanese Mandolin.

If you ever wonder how they get those paper thin slices and perfect matchsticks look no further than the Japanese mandolin. This is one, if not my favorite tool (besides my wife) for ease of use and razor sharp blade and its $20 price tag. Be careful though, I have lost a few pieces of skin on this device.
The bench scraper can be used for cleaning up your cutting board, scooping prepped items into bowls/pans etc… to even smashing garlic cloves and chopping them up with the (not so sharp) blade portion.

Measuring and Stirring Devices


Thermometers and timers will always be important if you are ever unsure of internal temperatures or how much longer should that roast take.
A flexible whisk with a good amount of wires is important because most things being whisked require air be incorporated, so the faster you can move the surface area, the faster your job will be complete.
Wooden spoons and rubber spatulas are always handy because they do not scratch stick resistant pans and are fairly easy to clean up
Measuring cups and spoons, I think these speak for themselves

Meat Tenderizers and a Microplane

If you ever want to tenderize a thick cut of beef, a pork chop or a piece of chicken in about a hour the deni tenderizer can do this with ease. It has 30 spikes in a spring loaded mechanism that you just smack your protein of choice with before marinating. $20
The mallet style tenderizer is good for making thin cutlets by placing your meat product between 2 pieces of plastic wrap and beating it unto your hearts content! (if you've had a bad day, look into this therapeutic form of relief.)
Finally the microplane, I have had this tool since it was introduced to the market in the late 90's. It is great for grating the hardest cheese, zesting citrus and even shaving chocolate. The ultimate finishing tool. I think we have all been to that italian restaurant with the great bread sticks and salad that use a different form of this tool to put park on your pasta at the table before you dive into that first bite.

So that is the tools I use most often. I hope this can help you out in making cooking easier at home. Thanks for reading and I will see you next week. 
I would love to hear comments on your favorite tool!

March 16, 2012

Foodie Friday - Basil Pesto Chicken Sandwich


FOODIE FRIDAY!

Basil Pesto Chicken
& Mozarella Sandwich

by Resident Chef James Wood


Happy Friday everyone! Today I am sharing my version of Basil Pesto and then I will incorporate it into a tasty chicken sandwich.
First, let us start off with the pesto… Here is a list of what you need…
4 ounces of Basil (usually sold in a 4 ounce box at the market)
4 ounces of spinach
4 ounces of pecorino romano
2 ounces parmesano reggiano
5 garlic cloves
1/2 teaspoon of chili flakes
1+1/4 cups extra virgin olive oil
1 large lemon
2 teaspoons salt
1 teaspoon pepper
and a food processor
This costs about $8-9 to make in my neck of the woods up here in Seattle, but, it yields about 24 ounces of fresh pesto! At about $0.38/ounce thats pretty awesome. Plus, this is a ingredient that has tons of uses AND freezes extremely well!

Step 1
Place the chunks of parmesan and pecorino in your food processor with bottom blade attachment and turn on. Let run until very small pebbles have been created.
Step 2
Add the garlic and pulse until incorporated
Step 3
Add the basil, stems and all!!! Pulse until broken down and then add the spinach and repeat. (***I use spinach because it has a neutral flavor compared to the basil and you can double the size of your recipe without putting a damper on your grocery bill! But if you're feeling sassy…. Just double the basil!)
Step 4
Add the juice of the lemon, pepper flakes, salt and pepper and turn the processor to the on position and let run.
Step 5
Slowly drizzle the olive oil into the processor until you have a smooth consistency and let run for about 15-20 additional seconds.
That is it! Simple, easy and packed with flavor! Transfer to a storage container.
***A trick we use in the the restaurants is to take a small piece of plastic film and place it over the surface of the pesto before you put on a lid so it can keep the beautiful vibrant green color without the risk of oxidation. Lasts for a week in the fridge and up to a month in the freezer.

Now for the Pesto Chicken Sandwich with fresh Mozzarella and Roma Tomatoes

What you need to serve 4…
4 ciabatta or torta rolls
2 chicken breasts
2 ounces mayonnaise
2 ounces of FRESH PESTO
2 Roma Tomatoes
8 slices of fresh mozzarella (*** you can purchase this in 2-1 pound logs at Cosco for $7.99 instead of paying $5.99 for a 5 ounce ball at the grocery store.)
Olive Oil
Red Wine Vinegar
Salt and Pepper

Pre-Heat your oven to 350
1. Mix the mayo and pesto together
2. Slice 2 chicken breasts in half and place on plastic film as pictured, put another piece of plastic on the top and pound with a tenderizer until they are even. Place in a vessel and drizzle with oil, vinegar, salt and pepper.
 
3. Heat up a skillet, slice your rolls in half and drizzle with olive oil then toast in the skillet and set aside.
4. In the same skillet (because it is already hot) start to sear your chicken breasts, flip over, place the cheese on top and then toss it in the oven for about 4-5 minutes.


5. While chicken is finishing in the oven, dress your bread with the pesto mayonnaise.


6. Once chicken is thoroughly cooked thru, finish assembling your sandwich and serve.
I accompanied mine with a simple salad with oil and vinegar.

Enjoy!!!

Have a great weekend and a great St. Patty's Day.

James

James with wife Lisa

March 9, 2012

Foodie Friday - Pizza Night!

FOODIE FRIDAY!

PIZZA NIGHT
by Resident Chef James Wood


Greetings,

If there's one food I think I could eat everyday for the rest of my life it would be pizza!
I will include how to make my dough and the step by step procedures to prepare this weekly tradition in my house.

For the dough
1 cup luke warm water
1 package of red star fast acting yeast
1 tablespoon extra virgin olive oil
1/4 teaspoon salt
1/4 teaspoon sugar
2 cups all purpose flour
1/4 cup whole wheat flour

For the Toppings.... Now that's completely up to you. Just remember... Less is more when it comes to topping pizza. I like light and flavorful, not a heavy greasy take out style pie but that's me.

Step 1
In a mixer add water, yeast, olive oil, salt and sugar and let sit for about 3-5 minutes so the yeast can bloom.


Step 2
Add the A.P. and whole wheat flour and mix for about 90 seconds to 2 minutes.  It should look like this when ready.  (notice how it just stopped sticking to the bowl, that means its ready!)


Step 3
Place on board and shape into a tube, then cut in half.


Step 4
Knead the dough into balls.


Then place the balls into 2 presprayed containers and spray the top of the balls as well. Put lid on the containers and place in the refrigerator for 2 hours until dough has doubled in size.


Preheat oven to 435 degrees.

Stretching/Rolling the dough:

Step 5
Spray 2 pizza pans with pan spray then place the balls in flour and pat them off and place them in the middle of the pans.


Step 6
Stretch the dough with your hands or roll out with a pin if you don't trust yourself. Then drizzle with olive oil.


Brush oil to evenly coat the crust and bake for 7 minutes.  I like to season mine with salt and pepper.


Topping your pizza:
Now that you have a blank canvas you can go nuts with whatever you like, seriously get creative and post what you made.   It's fine to use tomato sauce in a jar that's what I do in a pinch.
I put roast chicken, caramelized onions, bacon, artichoke hearts and tomatoes on mine because it's my wife's favorite. 

Bake for 10-12 minutes and you will have a gourmet pizza at a pauper price of just around $4/pizza.


Say good bye to pre fabricated and hello to fresh.
Cheers and have a great weekend!

James Wood
cookinwood@gmail.com
James with his wife Lisa.